The Project Settings section in the sidebar provides a centralized place to configure and manage various aspects of your project, including general options, package details, work settings, and automation features.
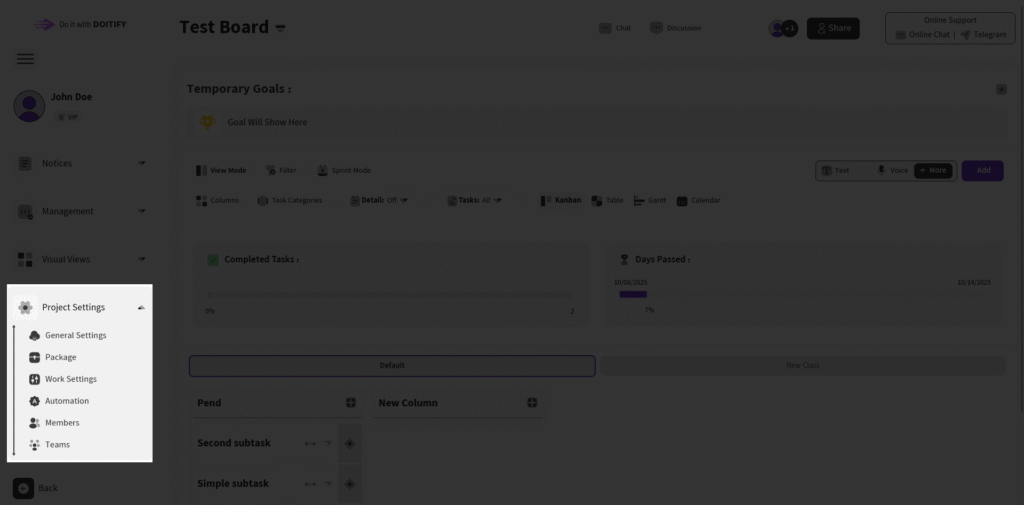
General Settings #
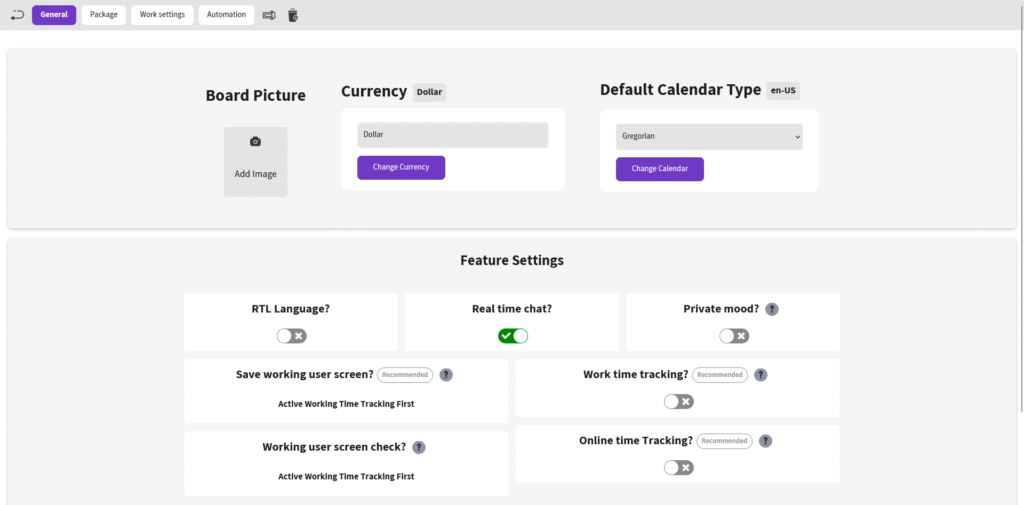
This section allows you to customize your board’s appearance and functionality.
- Upload a profile photo for your board, visible on the Boards page.
- Set the currency and choose the calendar type (Shamsi or Gregorian).
- In the Feature Settings section, you can enable or disable key workspace options, including:
- RTL/LTR Board Direction
- Real-time Chat for simple greetings
- Private Mode so users only see tasks assigned to them
- Employee Screen Capture Storage
- Work Time Tracking (time worked)
- Online Time Tracking (time online)
- Live Screen Monitoring while the employee is working
- In the Appearance Settings section, configure Sub-Tasks Sorting by Deadline or Start Time.
Package #

- In addition to ready packages, there is a calculator that allows the user to create their own custom package based on the resources they want : members, disk storage, reminders, SMS, and Pro Emails, with the price adjusting based on each addition.
- At the bottom of the page, choose to pay via Wallet or online payment.
- On the left side, you can view the specifications of your current package.
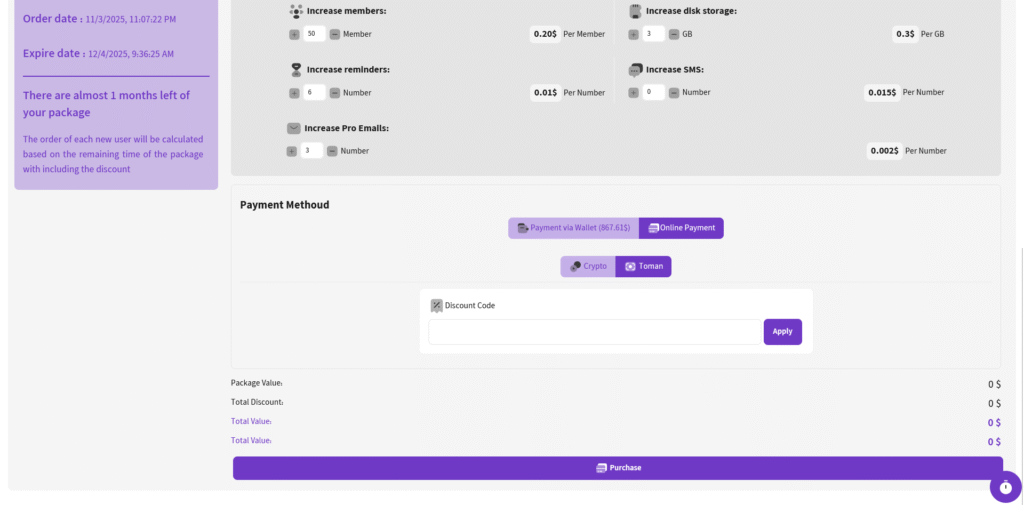
According to your needs, change anything you want and create your own package.
Work Settings #
This section lets you manage your team’s work schedule and holidays.
- Adjust the Hour of Work based on hours, e.g., 5 hours.
- In the Project Holidays form, specify holiday days by entering a name in the Name field and selecting days in the Select Days field.
- In the Days with Different Working Hours form, set specific days with varied hours by filling in the Name, Select Days, and Hour of Work fields.
Automation #
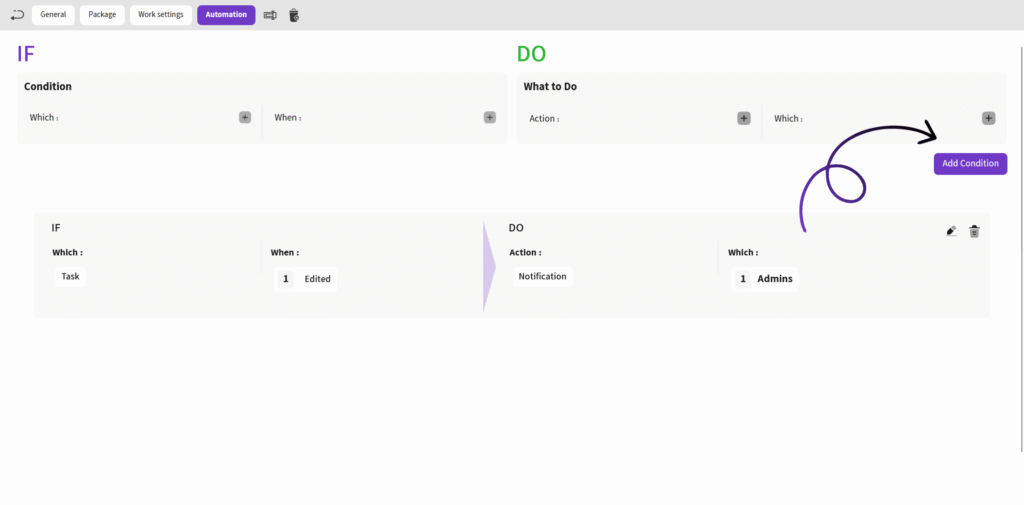
This section allows you to set up automated workflows, such as sending notifications to admins when a task is edited (as shown in the image).
- In the IF section, click the + next to Which to select an option (task, sub-task, channel), then choose an event in When.
- Move to the Do section, select an action in Action, and specify the recipient in Which.
- After adding, use Add Condition to edit or delete the automation.
Members & Teams #
Explanation for this section can be found in the Members & Teams section.
Frequently Asked Questions #
Doitify Board #
How do I log a daily report in a Board ?
From Notices drop down in the sidebar, select “Report Daily Works,” enter your work details and time, then submit.
How do I leave a Board ?
click “Leave Board” in the Members section. Owners should first transfer ownership.
How do I change Board settings ?
From the left sidebar, open Project Settings drop down and click on options like General, Package, or Automation.
How do I use Chat and Discussion on a Board ?
Chat for real-time team messaging with timestamps; Discussion for topic-based threads—use Advanced for voice, photos, or private messages, with sidebar toggle.
How do I track progress on a Board ?
Two progress lines show completion: one by task count (e.g., 6% done), another by start time to last deadline for estimated finish—view granular subtasks for detailed breakdowns.
How do I add members or teams to a Board ?
Click on Share button in header or open Project Settings drop down in side bar and click on Members , click add new members , assign roles (task manager, QC), and set permissions—groups allow bulk duty assignment for employer management.
How do I set up sprint mode on a Board ?
Click Sprint Mode in the toolbar to filter tasks by deadlines and dates, set sprint duration, and track velocity—perfect for agile techniques
How do I set up sprint mode on a Board ?
Click Sprint Mode in the toolbar to filter tasks by deadlines and dates, set sprint duration, and track velocity—perfect for agile techniques
Can I customize columns on a Board ?
Yes, click the Columns button in a board to open “board column settings”, add/edit columns or COSs, reorder by dragging, and delete unnecessary ones—default columns like “Pend” can be expanded for statuses like active or completed.
How do I add tasks to a Board ?
In the Board view, click Text, Voice, or More in the top toolbar—use Text for quick entry, Voice for dictation, or More for advanced details like subtasks, deadlines, assignments, and attachments.
How do I create a new Board ?
Click the + New Board in the Board page in Dashboard, enter a name , choose if it’s a child of an existing board (for hierarchy), and click on Create Board — it auto-sets up default columns like “Pend” for quick onboarding.
What is a Board in Doitify ?
A Board is a visual workspace for organizing tasks, subtasks, and workflows using Kanban or COSs, enabling drag-and-drop management, status tracking (active, under checking by QC, rejected, completed), and integrations with CRM, Gantt charts, and reports.


