Progress Line #
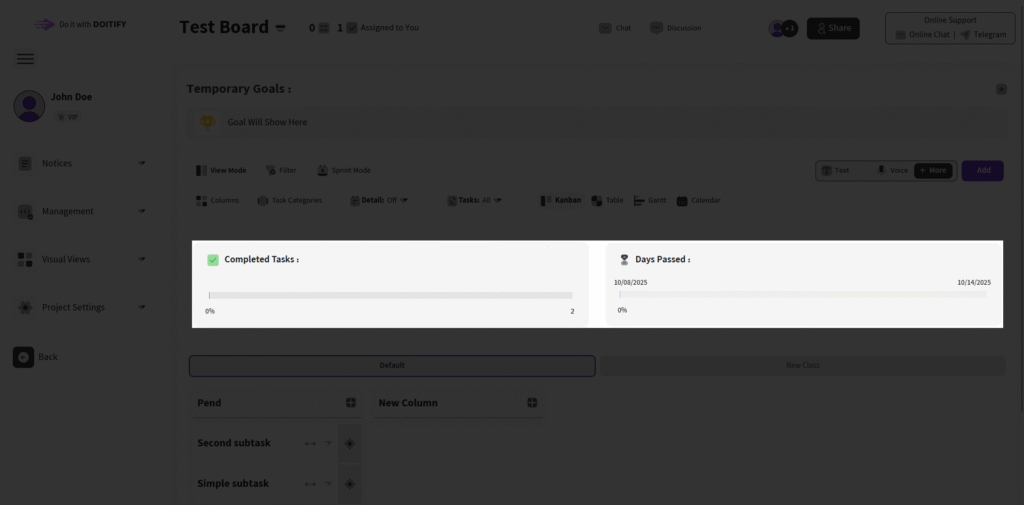
In this view, two progress lines are displayed at the board :
- One based on the total number of tasks and completed tasks, showing overall completion percentage.
- The other based on the first start time and the last deadline, providing an estimated maximum completion timeline for all tasks.
The same progress lines are available within each individual task, calculated based on its sub-tasks for granular tracking.
Temporary Goals #
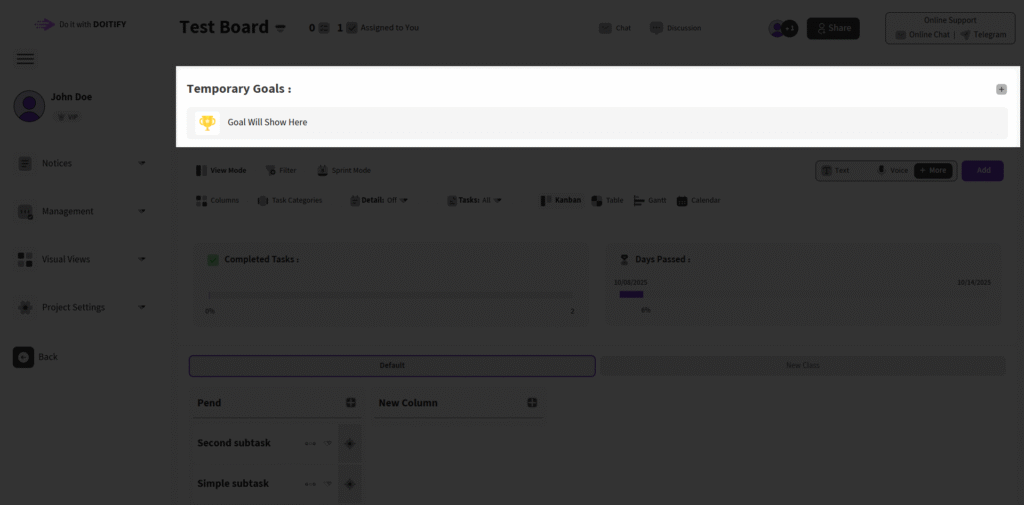
Temporary Goals allow admins to set short-term objectives directly on the board, complete with deadlines and descriptions (Exactly like the papers we stick on the company’s central board). This feature is exclusive to admin users and supports multiple goals, displayed in a sliding carousel for easy navigation. To add your first goal, click the + button in the top-right corner, enter a title in the field, add a deadline and description if desired, and click Add. Existing goals can be edited or deleted via the options menu next to each one.
Chat , Discussion , Members #
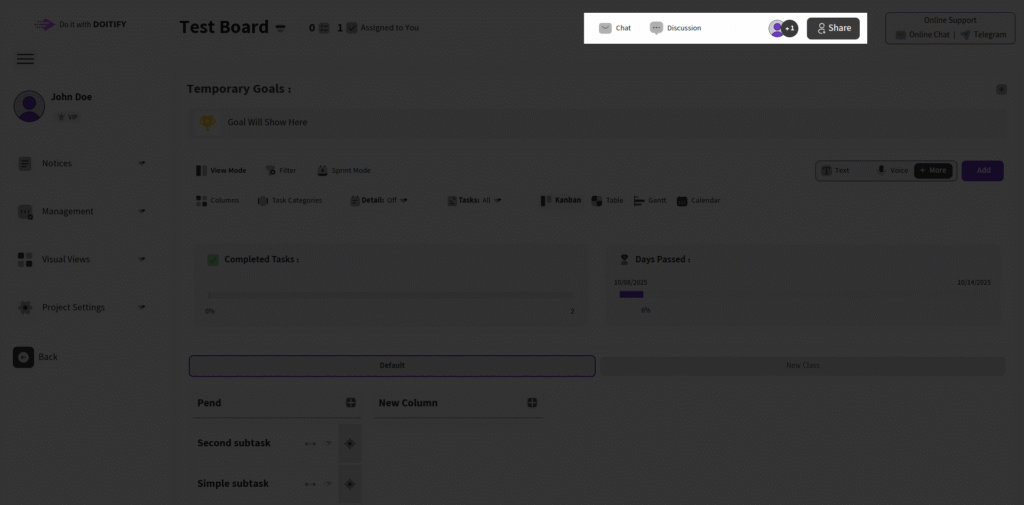
Chat : #
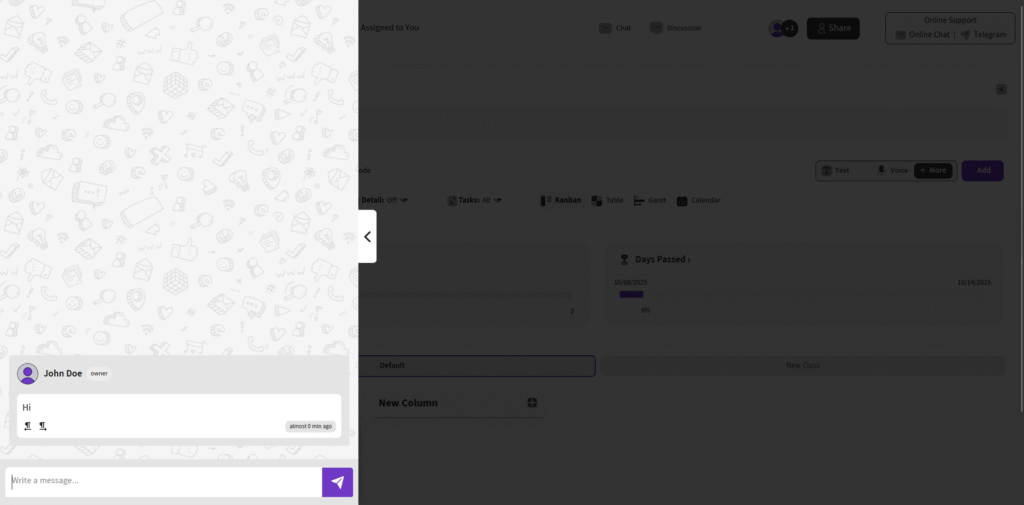
The Chat section enables real-time online conversations with all members on the board, fostering collaboration and quick updates. Access it via the Chat button in the header to open the chat section
Messages display the sender’s name , role and timestamp in the bottom-right corner for easy tracking.
Chats are not stored in the database so only online users can chat.
Discussion : #
The Discussion section allows users to create and manage dedicated conversation topics for board-related discussions, promoting focused team collaboration.

Key Features #
- Creating New Topics: Click the + button to start a new discussion thread, where each topic has its own separate chat interface on the left sidebar.
- Topic Chat: The left sidebar lists all topics, with real-time messaging for each one, enabling organized conversations without cluttering the main board view.
- Close Sidebar: Use the Close Sidebar button to collapse or reopen the discussion panel, keeping the interface clean and flexible.
Advanced Messaging #
- In the message input box, click the Advanced option to open a popup with enhanced features:
- Voice Recording: Record and send voice notes for quick audio updates.
- Photo Upload: Attach and send images directly to the chat.
- Private Message: Select a specific user to send a private message within the topic, ensuring targeted communication.
This section integrates with board tasks for seamless discussions on sub-tasks, QC checks, or sprint updates.
Members : #

The Members section provides tools for managing team access, roles, and invitations on the board, ensuring secure and efficient collaboration.
Key Features #
- View Members: The center of the page lists all board members with their profiles , including quick access to permissions, performance reports, profile details, and toggle admin options.
- Add New Members: Click the Add New Members button to invite users by email, granting them access to the board for task assignment and discussions.
- Leave Board: As a non-owner, use the Leave Board button in the top-right to exit the board and remove your access.
- Owner Controls: If you are the owner, you can:
- Change the board owner via the Change Owner button.
- Modify user rules and roles (e.g., promote to admin using Toggle Admin).
- Adjust permissions for each member, including performance reports and profile settings.
Groups : #
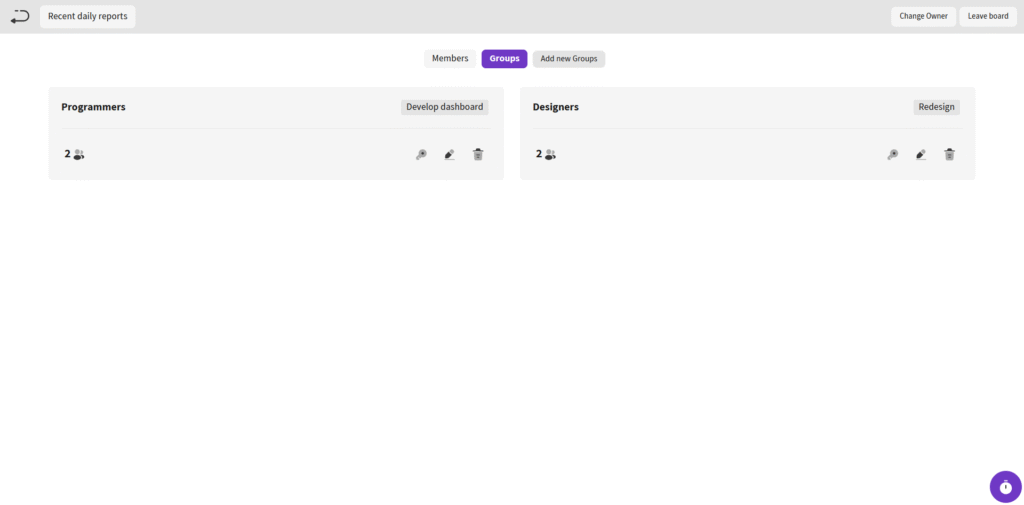
The Groups section provides tools for creating and managing user groups on the board, enabling efficient role assignment and permissions for team subsets.
Key Features #
- View Groups: The center of the page lists all board groups , showing member counts and quick access to settings like permissions and duties.
- Add New Groups: Click the Add New Groups button to create a new group, select members, assign duties to them, and set group-level permissions that apply to all members in the group.
- Group Management: For each group, you can modify permissions and duties, ensuring consistent access and responsibilities across the group.
Frequently Asked Questions #
Doitify Board #
How do I log a daily report in a Board ?
From Notices drop down in the sidebar, select “Report Daily Works,” enter your work details and time, then submit.
How do I leave a Board ?
click “Leave Board” in the Members section. Owners should first transfer ownership.
How do I change Board settings ?
From the left sidebar, open Project Settings drop down and click on options like General, Package, or Automation.
How do I use Chat and Discussion on a Board ?
Chat for real-time team messaging with timestamps; Discussion for topic-based threads—use Advanced for voice, photos, or private messages, with sidebar toggle.
How do I track progress on a Board ?
Two progress lines show completion: one by task count (e.g., 6% done), another by start time to last deadline for estimated finish—view granular subtasks for detailed breakdowns.
How do I add members or teams to a Board ?
Click on Share button in header or open Project Settings drop down in side bar and click on Members , click add new members , assign roles (task manager, QC), and set permissions—groups allow bulk duty assignment for employer management.
How do I set up sprint mode on a Board ?
Click Sprint Mode in the toolbar to filter tasks by deadlines and dates, set sprint duration, and track velocity—perfect for agile techniques
How do I set up sprint mode on a Board ?
Click Sprint Mode in the toolbar to filter tasks by deadlines and dates, set sprint duration, and track velocity—perfect for agile techniques
Can I customize columns on a Board ?
Yes, click the Columns button in a board to open “board column settings”, add/edit columns or COSs, reorder by dragging, and delete unnecessary ones—default columns like “Pend” can be expanded for statuses like active or completed.
How do I add tasks to a Board ?
In the Board view, click Text, Voice, or More in the top toolbar—use Text for quick entry, Voice for dictation, or More for advanced details like subtasks, deadlines, assignments, and attachments.
How do I create a new Board ?
Click the + New Board in the Board page in Dashboard, enter a name , choose if it’s a child of an existing board (for hierarchy), and click on Create Board — it auto-sets up default columns like “Pend” for quick onboarding.
What is a Board in Doitify ?
A Board is a visual workspace for organizing tasks, subtasks, and workflows using Kanban or COSs, enabling drag-and-drop management, status tracking (active, under checking by QC, rejected, completed), and integrations with CRM, Gantt charts, and reports.


